Harmony 650 User Guide: A Comprehensive Overview (Updated 04/21/2026)
Welcome! This guide details the Logitech Harmony 650‚ covering features‚ functionality‚ and user agreements for optimal home entertainment control.
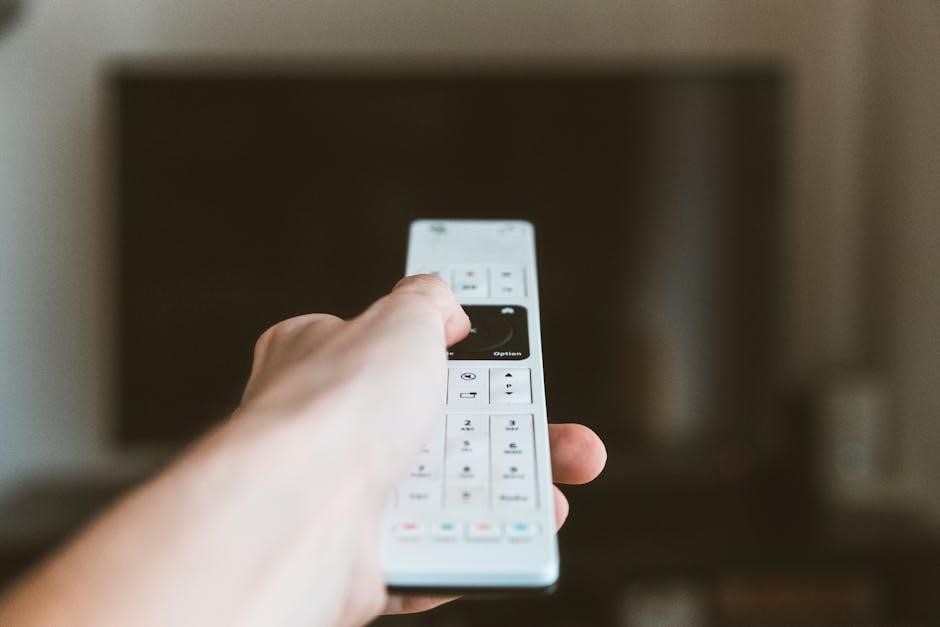
The Logitech Harmony 650 is a universal remote control designed to simplify your home entertainment experience. It consolidates control of multiple devices – TVs‚ cable boxes‚ Blu-ray players‚ game consoles‚ and more – into a single‚ easy-to-use remote. This eliminates the clutter of numerous remotes and the frustration of switching between them.
This guide provides a comprehensive overview of the Harmony 650‚ from initial setup and device configuration to advanced features and troubleshooting. Whether you’re a first-time user or an experienced home theater enthusiast‚ this manual will help you unlock the full potential of your Harmony 650. Understanding the user agreement is crucial for a smooth experience.
The Harmony 650 utilizes a combination of infrared (IR) technology and the Harmony Hub to control your devices‚ offering broad compatibility and reliable performance. Prepare to streamline your entertainment setup!
What’s in the Box?
Upon opening your new Logitech Harmony 650 package‚ you should find the following components carefully included. First‚ the Harmony 650 Remote Control itself‚ designed for intuitive operation. Secondly‚ the Harmony Hub‚ the central connection point for controlling your devices. A Power Adapter for the Harmony Hub is also present‚ ensuring continuous operation.
Additionally‚ you’ll receive a USB Cable for initial setup and firmware updates. A comprehensive User Manual‚ like this one‚ is included to guide you through the setup process and features. Please review the important user agreement before proceeding. Finally‚ you’ll find Batteries to power the remote‚ allowing for immediate use. Verify all components are present before starting!
System Requirements & Compatibility

To fully utilize your Logitech Harmony 650‚ ensure your home setup meets the following requirements. A compatible internet connection is needed for initial setup and firmware updates. The Harmony 650 supports a vast library of devices‚ including TVs‚ cable boxes‚ Blu-ray players‚ AV receivers‚ and more.
It’s compatible with most major brands. A USB port on your computer is required for software installation and device synchronization. The Harmony Hub works with Wi-Fi (2.4 GHz) networks. Please review the online compatibility list on Logitech’s support website to confirm your specific devices are supported. Ensure your devices have IR receivers for optimal control.
Setting Up Your Harmony 650
Initial setup is straightforward. Begin by unpacking all components and ensuring you have a stable internet connection. Download and install the Harmony desktop software or the Harmony Mobile App on your smartphone or tablet. Connect the Harmony Hub to your home network following the on-screen instructions within the app.
The software will guide you through account creation and device pairing. Ensure the Hub has a clear line of sight to your entertainment devices. This initial process establishes communication between the remote‚ Hub‚ and your home theater components‚ enabling seamless control.
Connecting to Power
Powering the Harmony Hub is the first physical step. Use the provided AC adapter and connect it to a standard wall outlet. Ensure the adapter is securely plugged into both the outlet and the Hub’s power port. A solid power light on the Hub indicates a successful connection.
The Harmony 650 remote utilizes standard batteries (typically AA). Open the battery compartment located on the remote’s back and insert the batteries‚ observing the correct polarity (+ and -). Proper battery installation is crucial for optimal remote functionality and range.
Initial Software Installation
Download the Harmony Mobile App from your device’s app store (iOS or Android). This app is central to setting up and controlling your Harmony 650. Once downloaded‚ launch the app and create a Logitech account‚ or log in if you already have one.
Follow the on-screen prompts to connect the app to your Harmony Hub via Bluetooth or Wi-Fi. The app will guide you through a series of steps‚ including updating the Hub’s firmware to the latest version. This ensures optimal performance and compatibility. Allow the app full permissions for a seamless setup.
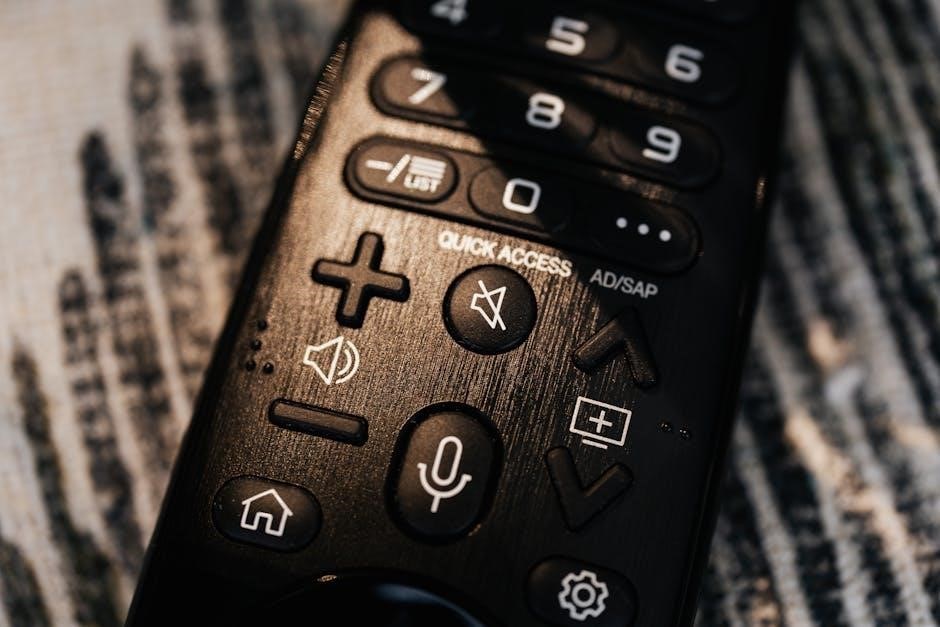
Understanding the Harmony 650 Remote Layout
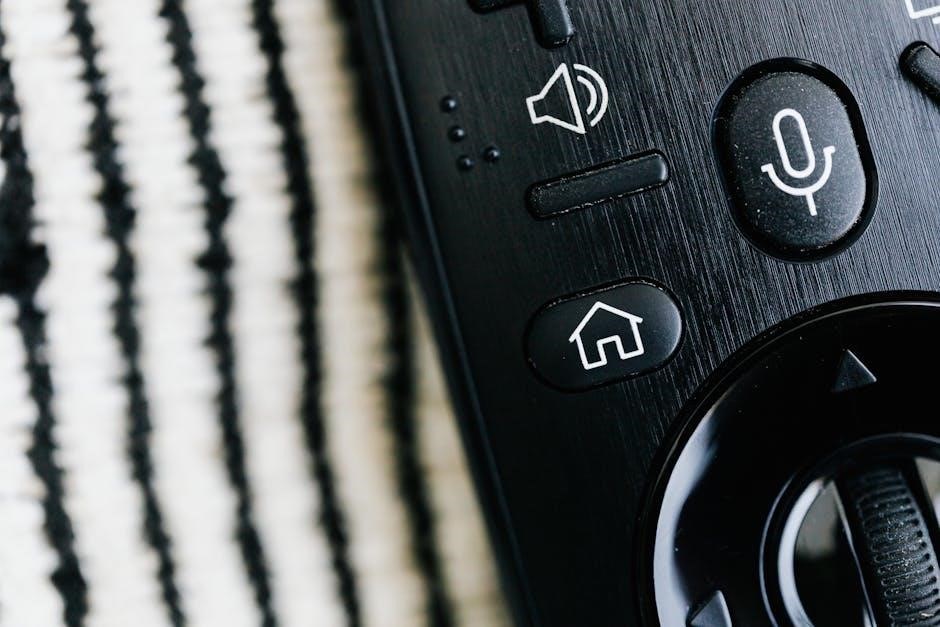
Familiarizing yourself with the Harmony 650 remote is key to effortless control. The remote features a circular navigation pad‚ channel and volume controls‚ a dedicated ‘Home’ button‚ and customizable Activity buttons. These Activity buttons launch pre-programmed sequences for watching TV‚ movies‚ or listening to music.
The ‘Menu’ and ‘Back’ buttons provide standard navigation functions. The ‘Help’ button offers contextual assistance within the Harmony app. Understanding the layout streamlines operation‚ allowing quick access to your favorite entertainment. Explore each button to unlock the full potential of your Harmony experience;
Button Functions Explained
The Power button‚ unsurprisingly‚ turns devices on and off. The circular navigation pad allows menu navigation‚ while the ‘Select’ button confirms choices. Channel up/down and volume up/down control audio and channel selection. ‘Mute’ silences audio instantly.
Activity buttons initiate pre-set device sequences. The ‘Home’ button returns to the Harmony home screen. ‘Menu’ accesses device-specific menus‚ and ‘Back’ navigates back. The ‘Help’ button provides in-app assistance. Customizing Activity buttons enhances convenience‚ tailoring the remote to your viewing habits. Experiment with each button to master control!
The Harmony Hub & its Role
The Harmony Hub is central to the Harmony 650’s functionality‚ acting as a universal control bridge. It connects to your home network (Wi-Fi) and communicates with devices via infrared (IR) or Bluetooth. This eliminates direct line-of-sight requirements for IR devices.
The Hub extends control to devices hidden in cabinets. It enables voice control integration with compatible smart speakers. Setup involves connecting the Hub to power and your TV‚ then pairing it with the remote via the Harmony app. The Hub’s range extends control throughout most rooms‚ simplifying your entertainment setup.
Adding Devices to Your Harmony 660
Adding devices to your Harmony 650 is streamlined through the Harmony Mobile App or manual code entry. The app offers a guided process‚ automatically searching for compatible devices on your network. Simply select your device brand and model from the extensive database.
If automatic detection fails‚ utilize the manual code entry option. The app provides access to a comprehensive code library. Enter the manufacturer’s code for your specific device. Ensure accurate input for reliable control. The Harmony system supports a vast range of devices‚ including TVs‚ receivers‚ and streaming boxes.
Using the Harmony Mobile App
The Harmony Mobile App is central to controlling your Harmony 650. Download it from your app store and create an account or log in. The app guides you through device addition‚ activity creation‚ and system configuration. It offers a user-friendly interface for managing your entire home entertainment setup.
Within the app‚ you can browse devices‚ enter codes‚ and customize button layouts. The ‘Discover’ function helps identify unknown devices. Enjoy remote functionality directly from your smartphone or tablet. The app also facilitates firmware updates and troubleshooting‚ ensuring optimal performance. It’s your all-in-one Harmony control center!
Manual Device Code Entry

If automatic device discovery fails‚ manual code entry is your solution. Within the Harmony app‚ select “Add Device” and choose “Enter Code Manually;” You’ll need your device’s manufacturer and model number. The app presents a list of codes; systematically try each one until your device responds correctly to commands.
Codes are organized by manufacturer‚ streamlining the process. If the first code doesn’t work‚ proceed to the next. Accurate code entry is crucial for seamless control. Refer to online code lists if needed. This method ensures compatibility even with less common devices‚ providing a robust control experience.

Creating and Customizing Activities
Activities are the heart of Harmony’s simplicity‚ allowing one-touch control of entire entertainment setups. Instead of juggling multiple remotes‚ an Activity like “Watch Movie” powers on your TV‚ receiver‚ and Blu-ray player‚ setting the correct inputs.
To create an Activity‚ use the Harmony app and follow the guided setup. Customize each Activity by adding or removing devices‚ adjusting power-on sequences‚ and selecting preferred input sources. Editing existing Activities is equally straightforward‚ allowing you to refine your experience. Personalization ensures Harmony adapts to your unique home theater.
What are Activities?
Activities represent real-world entertainment experiences‚ simplifying control of your home theater. Think beyond individual devices; an Activity combines multiple devices into a single‚ automated action. For example‚ “Watch TV” might power on your TV‚ cable box‚ and soundbar‚ setting the TV to the correct input.
Harmony eliminates the need to manually control each component. Activities streamline your routine‚ offering one-touch control for watching movies‚ listening to music‚ or playing games. They are customizable sequences‚ tailored to your specific setup and preferences‚ making home entertainment effortless and enjoyable.
Editing Existing Activities
Need to tweak an Activity? The Harmony app allows full customization. Select the Activity you wish to modify‚ then choose “Edit Activity.” Here‚ you can adjust the device sequence – the order in which devices power on/off. You can also change input settings‚ add delays‚ or even incorporate custom commands.
Perhaps your sound system requires a specific input for Blu-ray. Editing allows precise control. Remember to “Save” your changes after each adjustment. Experiment to perfect your Activities for a truly personalized experience. Pro Tip: Test each edit thoroughly to ensure seamless operation!
Troubleshooting Common Issues
Experiencing problems? Don’t worry‚ many are easily resolved. If the remote isn’t pairing‚ ensure the Hub is powered on and within range. Try restarting both. If a device isn’t responding‚ verify its power and IR signal path. Double-check device compatibility within the Harmony setup.

Sometimes‚ a simple software update fixes glitches. Explore the Harmony app’s troubleshooting section for guided solutions. Important: Avoid obstructing the Hub’s IR blasters. If issues persist‚ consult the FAQ or contact Logitech Support for further assistance.
Remote Not Pairing with Hub
Having trouble connecting your remote? First‚ confirm the Harmony Hub is powered on and displaying a solid blue light. Ensure the remote has fresh batteries – low batteries can hinder pairing. Within the Harmony mobile app‚ navigate to ‘Add/Edit Devices’ and select ‘Pair Remote.’

Follow the on-screen prompts‚ holding the Home and Back buttons simultaneously until pairing is successful. If it fails‚ try restarting both the remote and the Hub. Important: Keep the remote close to the Hub during pairing. If problems continue‚ check Logitech’s support website for detailed troubleshooting steps.
Device Not Responding
Is your TV or other device ignoring the Harmony 650? Begin by verifying the device is powered on and within the Hub’s IR range. Double-check the device is correctly added to your Harmony setup within the mobile app. Confirm the correct activity is selected – sometimes the wrong activity is active.
Try re-sending the command from the app. If issues persist‚ navigate to ‘Edit Device’ and verify the correct device type and brand are selected. Consider manually entering the device code for improved compatibility. Check for obstructions blocking the IR signal.
Advanced Features & Settings
Unlock the full potential of your Harmony 650! Explore custom button mapping within the mobile app for personalized control. Utilize ‘Macros’ to chain multiple commands for complex actions – perfect for automating routines. Delve into ‘Delay’ settings to fine-tune command timing for optimal device responsiveness.
Discover the ‘Learning’ feature to teach your Harmony commands from other remotes. Adjust Hub placement for enhanced IR coverage. Explore advanced settings for network connectivity and firmware updates. Customize the Harmony Home screen for quick access to frequently used activities.
Updating Your Harmony 650 Firmware
Keep your Harmony 650 performing at its best! Regularly updating the firmware ensures compatibility with new devices and access to the latest features. Connect your Harmony Hub to the internet via Wi-Fi or Ethernet. Open the Harmony mobile app or desktop software.
Navigate to the settings menu and select ‘Firmware Update’. The app will automatically check for available updates. Follow the on-screen prompts to download and install the latest firmware. Do not interrupt the update process! This could damage your device. A successful update improves stability and functionality.
Resetting Your Harmony 650 to Factory Defaults
Need a fresh start? Resetting your Harmony 650 returns it to its original factory settings‚ erasing all custom configurations. Caution: This will remove all devices‚ activities‚ and settings. Locate the reset button on the back of the Harmony Hub – it’s a small recessed button.
Using a paperclip or similar tool‚ press and hold the reset button for approximately 10 seconds. The Hub’s LED will blink‚ indicating the reset process has begun. Once complete‚ you’ll need to re-setup your devices and activities using the Harmony app. This is useful for troubleshooting or preparing the Hub for a new user.
Battery Information & Replacement
Powering your Harmony 650 remote requires two AA alkaline batteries. Battery life varies depending on usage‚ but typically lasts several months. To replace the batteries‚ slide off the battery cover located on the back of the remote. Important: Always replace both batteries simultaneously with fresh ones for optimal performance.
Avoid mixing old and new batteries‚ or different types of batteries. Dispose of used batteries responsibly‚ following local regulations. Low battery levels will be indicated by a warning message on your TV screen or within the Harmony app. Using rechargeable batteries is possible‚ but may offer shorter runtimes.
Safety and Regulatory Information
Important Safety Instructions: To prevent fire or shock hazard‚ do not expose the Harmony 650 to rain or moisture. Do not disassemble or attempt to repair the device yourself. Refer all servicing to qualified personnel. Keep the device away from extreme heat sources and direct sunlight;
Regulatory Compliance: This device complies with Part 15 of the FCC Rules. Operation is subject to the following two conditions: (1) This device may not cause harmful interference‚ and (2) this device must accept any interference received‚ including interference that may cause undesired operation.
Warranty Information
Limited Hardware Warranty: Logitech offers a one-year limited hardware warranty for the Harmony 650‚ commencing from the date of original purchase. This warranty covers defects in materials and workmanship under normal use. It does not cover damage from misuse‚ accidents‚ or unauthorized modifications.
Warranty Service: To obtain warranty service‚ contact Logitech Support with proof of purchase. Logitech will‚ at its option‚ repair or replace the defective product. This warranty is non-transferable and applies only to the original purchaser. See our website for full warranty details and regional variations.

Frequently Asked Questions (FAQ)
Q: My Harmony 650 isn’t responding. What should I do? A: First‚ check the batteries. Then‚ ensure the hub is powered on and connected to your Wi-Fi network. Try restarting both the remote and the hub.
Q: Can I use the Harmony 650 with voice control? A: Yes‚ the Harmony 650 is compatible with select voice assistants. Refer to the ‘Using Harmony with Voice Control’ section for setup instructions.
Q: How do I add a new device? A: Use the Harmony mobile app or manual code entry‚ detailed in the ‘Adding Devices’ section.
Support Resources & Contact Information
Need further assistance with your Harmony 650? Our comprehensive online support portal at logitech.com/harmony/support offers troubleshooting guides‚ video tutorials‚ and a searchable knowledge base.
For direct support‚ contact our dedicated Harmony support team via phone at 1-800-LOGITECH (1-800-564-4832)‚ available Monday-Friday‚ 9 AM to 5 PM PST. You can also reach us through live chat on our website.
Community Forums: Connect with fellow Harmony users and share solutions on our official community forums at community.logitech.com.
Understanding IR Blasting Range
The Harmony 650 utilizes infrared (IR) technology to control your devices. IR range is affected by several factors‚ including distance‚ obstacles‚ and the receiving device’s IR sensor. Typically‚ the effective range is up to 30 feet (9 meters) in a direct line of sight.
Obstructions like furniture‚ walls‚ and even tinted windows can significantly reduce the range. Ensure the Harmony Hub has a clear path to your devices’ IR sensors. Positioning the Hub strategically is crucial for reliable control.
For devices hidden in cabinets‚ consider using IR mini-blasters (sold separately) to extend the range and ensure consistent communication.
Using Harmony with Voice Control
The Harmony 650 is compatible with popular voice assistants like Amazon Alexa and Google Assistant‚ enabling hands-free control of your entertainment system. First‚ link your Harmony account within the Alexa or Google Home app.
Once linked‚ you can use voice commands to control activities‚ devices‚ and even adjust volume. For example‚ say “Alexa‚ turn on Movie Night” or “Hey Google‚ pause the TV”. Discoverable commands vary based on your setup.
Ensure your Harmony Hub is connected to the internet for voice control to function correctly. Regularly check for updates to enhance compatibility and add new voice command features.